Getting the best results
How to photograph your product so we can rebuild it faithfully
You don’t need a studio — just a clear photo and a few simple habits.
Of everything in the guides, this is the one to read before you order — every step after it works better when the photo going in is right.
From photo to image
Which photo becomes which image.
Every shot you send has a job. Scroll through the set: each delivered image shows the phone photo it was made from.
-
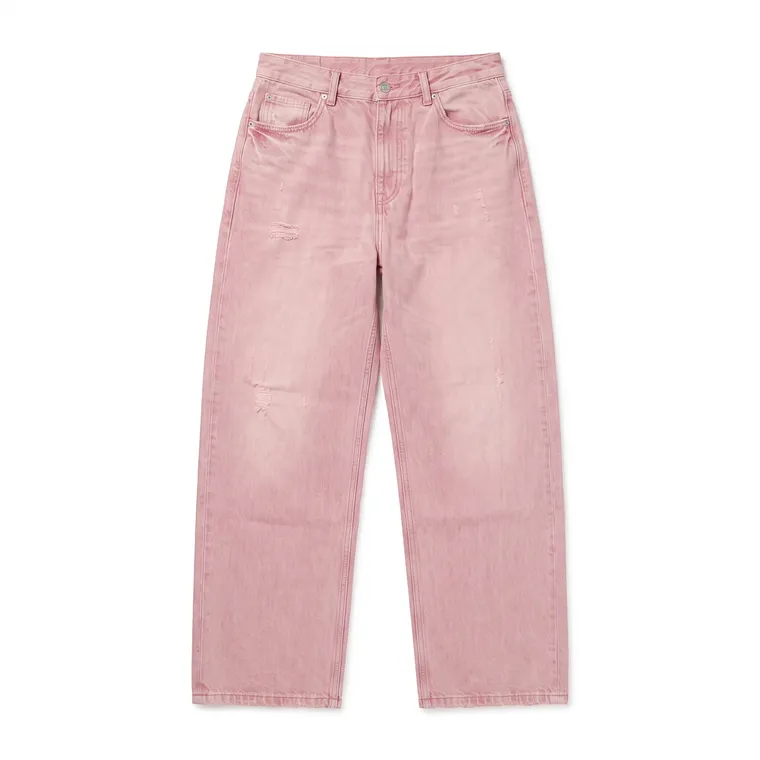
01Front 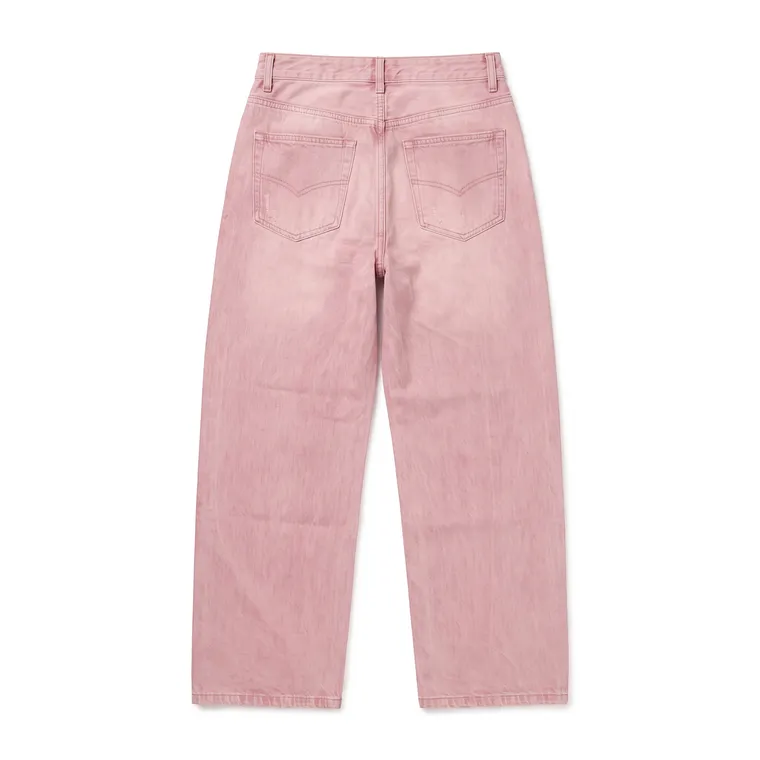
02Back 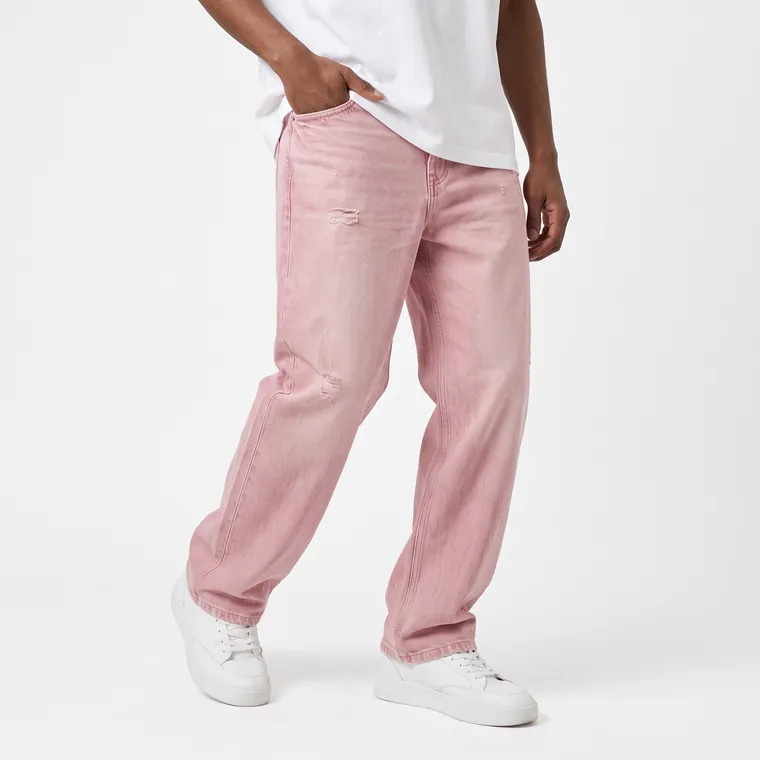
03On model 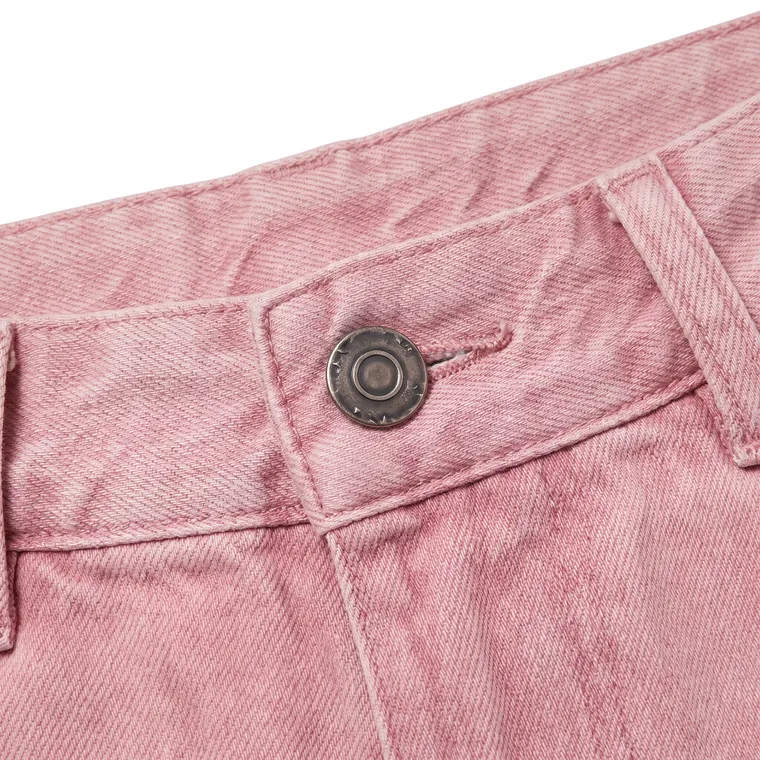
04Detail


↑ What you send
Image 1 of 4
Do
- Keep it clear and sharp — in focus, no motion blur.
- Use a neutral, uncluttered background.
- Light it well and evenly — daylight works great.
- Show the full product, plus a few close-ups of key details.
- Send the highest resolution you have — at least 1000 pixels on the long side, which any phone from the last decade clears. Below that the upload is refused on the spot and says so, so you find out while you are still at your desk rather than a day later.
Avoid
- Blurry, dark or low-light shots.
- Busy or distracting backgrounds.
- Heavy filters or strong colour casts.
- Tiny, low-res screenshots.
- Cropping part of the product out of frame.
The recommended set
The set we recommend — and why
We almost never hold your product in our hands, so the more angles you send, the more closely we can rebuild it. That is what makes the difference between matching your product and approximating it.
- Front and back
The whole product from both sides, so nothing about its shape is guessed.
- A detail close-up
Logos, stitching, prints, hardware — the things we match by hand.
- The fabric
A close shot of the material so texture, weave and sheen read true.
- Worn for fit
Someone actually wearing it, so we can reproduce the real-world fit and drape.
The first three are required. The worn shot is up to you. Front, back and the close-up all come back to you as delivered images, so we ask for all three rather than invent what we cannot see — and for the close-up a plain fabric shot counts just as much as a logo or a seam. The worn shot is optional: it makes the fit real instead of estimated, and in the order form we only ask whether it is coming.
Your product stays recognisable. Every image is held against your own photo — colour, print, logo, closures and seams are checked and corrected by hand wherever the AI drifts, so your customer sees the product they will actually receive.
Ready to send
Got a photo ready? Let’s see it transformed.
Start with one test sample — just a €1 fee to prevent abuse.